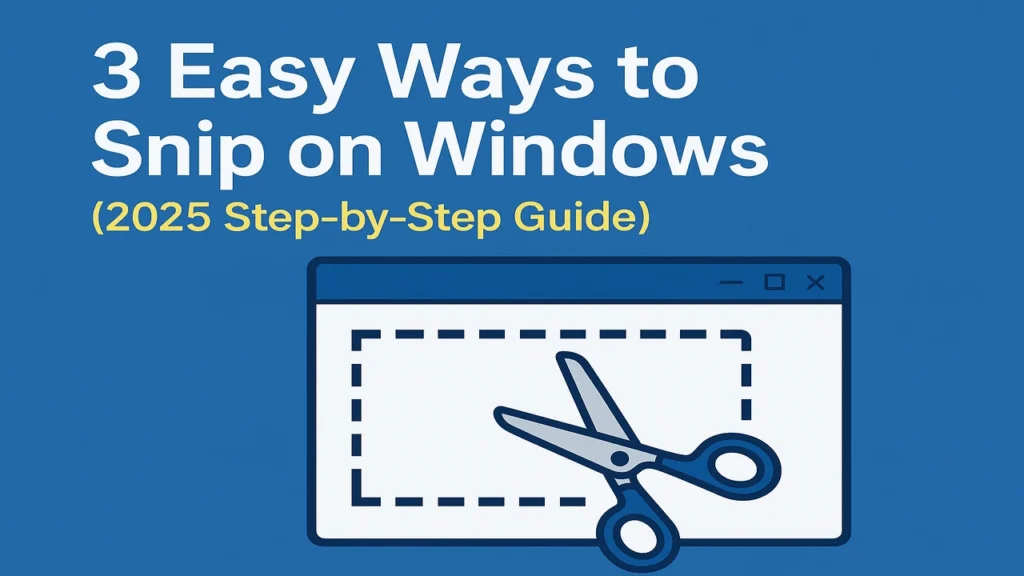
You need to know how to snip on Windows whether you’re creating a tutorial. It’s also important when saving information or troubleshooting a tech issue. It is an essential digital skill in 2025. From office professionals to casual users, screen snipping lets you capture and share what’s on your screen effortlessly. In this step-by-step guide, you’ll learn how to take a snip on Windows. This includes Windows 10 and Windows 11. You will use built-in tools and keyboard shortcuts.
Let’s dive into the easiest and fastest ways to screenshot snip on Windows, even if you’re not tech-savvy!

Table of Contents
Why Knowing How to Snip on Windows Matters
Screenshots are more than just images — they’re a way to:
- Save important information quickly
- Share tech support issues visually
- Highlight something interesting in a document
- Capture visual proof for reporting or reference
Learning how to snip it on Windows is a powerful productivity hack that can streamline your digital workflow.
Using Snipping Tool – Built-in on Windows
What is the Snipping Tool?
The Snipping Tool is a built-in Windows app that allows users to capture parts of their screen. It offers flexibility in snipping modes and comes pre-installed on all Windows 10 and Windows 11 machines.
How to Snip on Windows Using Snipping Tool
- Open the Snipping Tool:
- Click on the Start Menu
- Type Snipping Tool and press Enter
- Choose a Snip Mode:
- Rectangular Snip (default)
- Freeform Snip
- Window Snip
- Full-screen Snip
- Take the Snip:
- Click New
- Your screen will dim
- Select the area you want to capture
- Edit & Save:
- Use built-in tools to annotate
- Click File > Save As to save the screenshot
✅ Pro Tip: Press
Windows + Shift + Sfor quicker access (opens Snip & Sketch overlay directly).
How to Snip Screen on Windows Using Keyboard Shortcuts
For those who prefer speed over menus, keyboard shortcuts are a game-changer.
Common Snipping Shortcuts on Windows:
| Shortcut | Function |
|---|---|
| Windows + Shift + S | Opens snip overlay directly |
| Print Screen (PrtScn) | Captures the full screen to clipboard |
| Alt + PrtScn | Captures the active window |
| Windows + PrtScn | Captures full screen and saves to Pictures > Screenshots |
Once the snip is captured, paste it into apps like Paint, Word, Email, or Slack.
💡 Use Windows + Shift + S for the fastest way to snip it on Windows 11 or 10.
Use Snip & Sketch – A Modern Upgrade (Windows 10 & 11)
Snip & Sketch is a more advanced and modern tool than the classic Snipping Tool.
How to Take Snip on Windows with Snip & Sketch
- Open Snip & Sketch:
- Click Start
- Search for Snip & Sketch
- Click the New button to take a new snip
- Choose your snip type (just like Snipping Tool)
- Annotate, edit, or crop directly
- Save or copy to clipboard for sharing
🎯 This is the best tool for editing your snips on the go.
How to Screenshot Snip on Windows with the Snipping Tool App on Touchscreen Devices
If you’re using a Surface or other touchscreen Windows device:
- Open Snip & Sketch
- Tap the New icon using your finger or stylus
- Use touch gestures to draw your snip area
- Annotate with your stylus for personalized markup
This is especially useful for educators, designers, or digital artists who want quick visual documentation.
Bonus: Third-Party Snipping Tools
While Windows provides robust snipping tools, some users prefer third-party apps for enhanced features:
- Lightshot – Quick sharing and cloud storage
- Greenshot – Powerful editing and automation
- Snagit (Paid) – Advanced editing, screen recording, scrolling capture
These are helpful if you often take screenshots professionally or require more customization and control.
Comparison Table: Built-in vs. Third-Party Tools
| Feature | Snipping Tool | Snip & Sketch | Lightshot | Snagit |
|---|---|---|---|---|
| Free | ✅ | ✅ | ✅ | ❌ |
| Built-in | ✅ | ✅ | ❌ | ❌ |
| Markup Tools | Basic | Moderate | Moderate | Advanced |
| Screen Recording | ❌ | ❌ | ❌ | ✅ |
| Scrolling Capture | ❌ | ❌ | ❌ | ✅ |
Related Links You May Like:
- How To Install Windows 11 Step By Step Guide
- How To Split Screen in Windows
- How to Force Quit on Windows
- Microsoft Official Snip & Sketch Guide
Capturing your screen doesn’t have to be a hassle. Whether you’re using Snipping Tool or Snip & Sketch, you can now take a snip on Windows with ease. You can also use handy shortcuts.
Use this knowledge to boost productivity, simplify communication, or create content like a pro. If you’re upgrading to Windows 11, don’t worry — how to snip on Windows 11 follows nearly similar steps.
Was this guide helpful?
Bookmark this post or share it with someone who needs to know how to screenshot snip on Windows effortlessly!


